Setting up your Java Development Environment
The JDK includes tools for compiling and running java code. An IDE contains useful features, such as code compilation and debugging, organization of project files, and nice visual interfaces.
Install the JDK
Follow these steps to download and install the JDK:
- Go to Java SE Downloads and click JDK
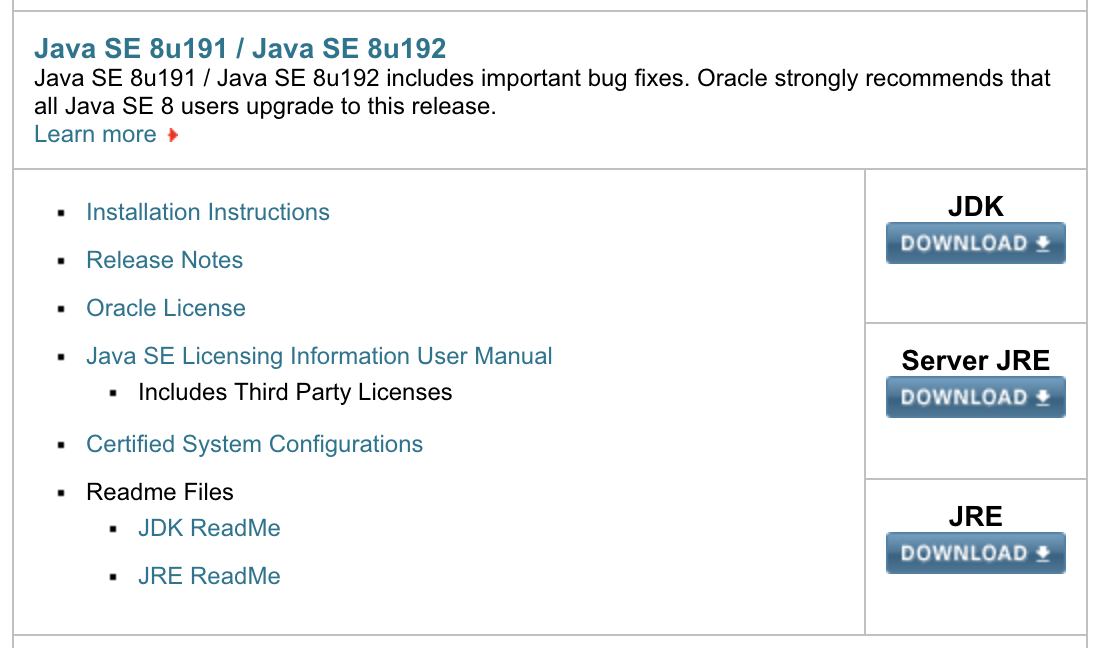
- Agree to the license terms
- Choose the download that matches your operating system
Windows
- Save the file
- When the download is complete, run the install program. Install the JDK to your hard drive in a location such as C:\home\Java\jdk1.8.0_92.
OS X
- When the download is complete, double-click it to mount it.
- Run the install program. You do not get to choose where the JDK is installed. You can run /usr/libexec/java_home to see the location of JDK on your Mac. The path that's displayed is similar to /Library/Java/JavaVirtualMachines/jdk1.8.0_92.jdk/Contents/Home
Now that you have JDK on your machine let's install Intellij IDE.
Install Intellij
Follow these steps to download and install Intellij IDE:
- Go to Inllelij IDE downloads and download the community edition

If Intellij prompts you to set up project SDK
Windows
- Navigate to where you saved the JDK on your drive (such as C:\home\Java\jdk1.8.0_92)
OS X
- Run /usr/libexec/java_home to see the location of JDK on your Mac
Creating your First Project
Follow these steps to create your first project in Intellij IDE:
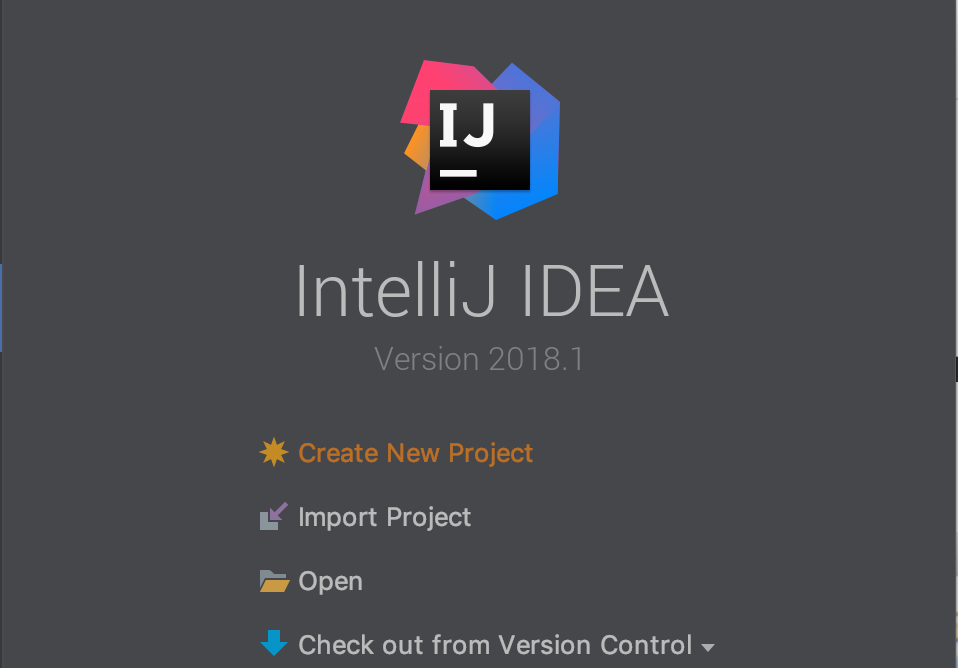
- Open intellij and press "Create New Project"
- Choose "Java" from the list of press "Next" on the bottom right corner
- Press next again (no template if prompted)
- Fill out the project name

- Press "Finish"
Your project structure should look like this:
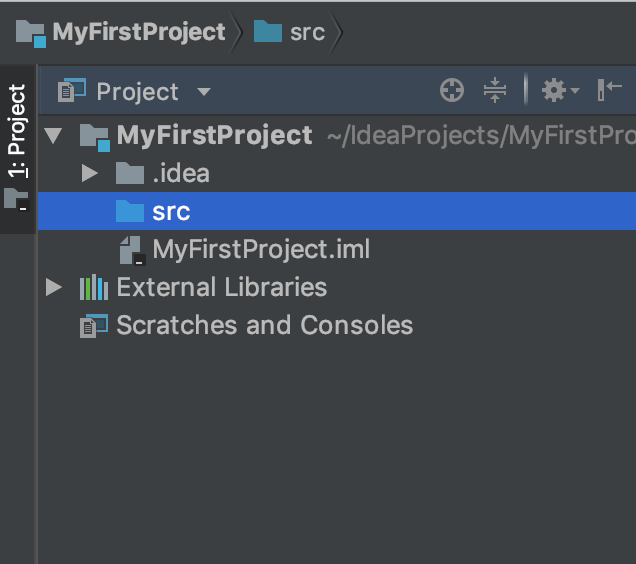
Creating a new source file
- Right click on your "src" file (shown above) and select new -> Java Class
- Select a class name
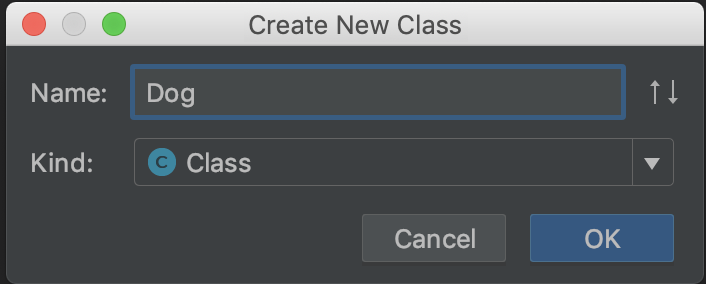
- Press "OK"
Intellij will create a new class inside that source file:
public class Dog {
}
And there you go! We can start learning java now!